If you’re new to photography or video, chances are you have some questions about tripods. Maybe you have an old tripod that came with your camera, or a hand-me-down from family. Here’s what you need to know about tripods before you trade in those old sticks for a fancy Sachtler.
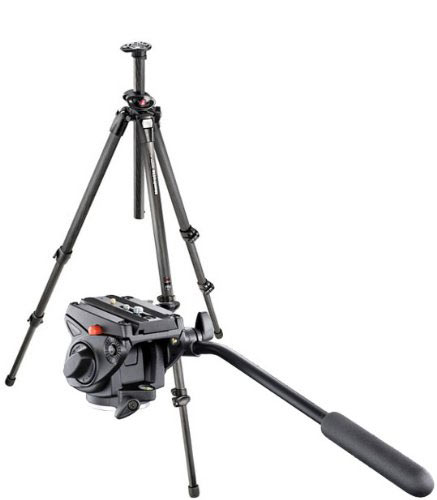
First, let’s figure out if you’re looking at a photo tripod or a video tripod. If your tripod allows you to roll your camera 90 degrees, it’s almost certainly a photo tripod. Some photo tripods have ball heads. Others have a simple 90 degree flip up plate to allow you to shoot in the portrait orientation.
Most photography tripods have a center column, but some budget video tripods have one also. This adds extra height at the expense of stability.
If your tripod has a fluid head, which lets you make smooth moves side-to-side and up-and-down, it’s probably a video tripod. Photographers don’t care as much about smooth moves, they just want a steady shot. Video shooters need to be able to adjust without jerking the camera around, and this means paying extra for a fluid drag system inside the tripod head.
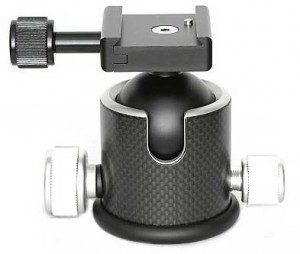
A small number of tripods are hybrids, designed to work with both photo and video. These are usually the $40 bargain-bin tripods, which are unstable and all around a bad idea. Don’t trust an expensive piece of equipment to a few plastic tubes that wobble when you touch them. If you’re looking for a good starter video tripod and head, expect to spend at least $300.
Nearly all tripods offer a quick release plate system. This lets you easily remove and reattach the camera, without having to screw everything back on. If you buy all matching equipment, you can use the same plates interchangeably. Most plates are different, depending on the manufacturer and the size of the tripod head. If you’re going for one matching standard for small to medium video equipment, we like the Manfrotto 501/701 size plate system.
Most consumer cameras have a 1/4″ hole on the bottom for mounting. Some professional cameras have a 3/8″ hole, or even a series of 3/8″ holes. If your camera and your tripod aren’t connecting, chances are you need an adapter, or a different mounting screw. It’s okay to put a little camera on a big tripod, but avoid going the other way around. Most broadcast and ENG style cameras are too heavy for consumer tripods.
Some video tripod legs offer a bowl at the top. This allows the camera to be leveled even when the legs are at different lengths, and it’s much easier to fine-tune than tweaking leg lengths while your camera is on top of your tripod. Almost all legs have a smooth bottom for indoor use, but some also offer spikes for more reliable traction outdoors. Just be careful not to leave them out when you’re done!
Most of the weight of the tripod is in the legs. Modern materials like carbon fiber offer a lightweight sturdy option, but steel or aluminum legs work very well if you don’t mind carrying the extra weight.
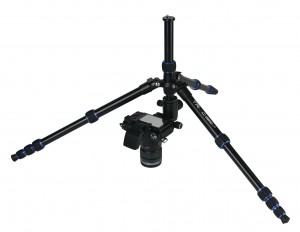
Most tripod legs have two or more stages. This lets you adjust the height as needed. The important measurements are minimum and maximum height. We suggest that for most applications, you don’t even consider a tripod shorter than 6′ (70″) maximum height. You want to be able to look a standing person in the eye (or sometimes, shoot over a standing person’s head).
When video professionals need a shot lower than the minimum height, they use a hi hat or low hat, which are much shorter tripod legs that accept the same tripod head. Some prosumer video and professional film tripods will let you “undersling” or reverse-mount the center column, so you can lower the camera all the way to the ground. Of course, your image will be inverted, but this is usually not a problem.
A tripod and head is a very personal choice for each shooter and each project. I have at least five tripods I use regularly, depending on the project and the camera. I recommend trying a few leg and head combinations out, before you make the choice on which one suits you best.
Posted by Jon Kline

